Demo Truck for a dealer show? Coming right up!
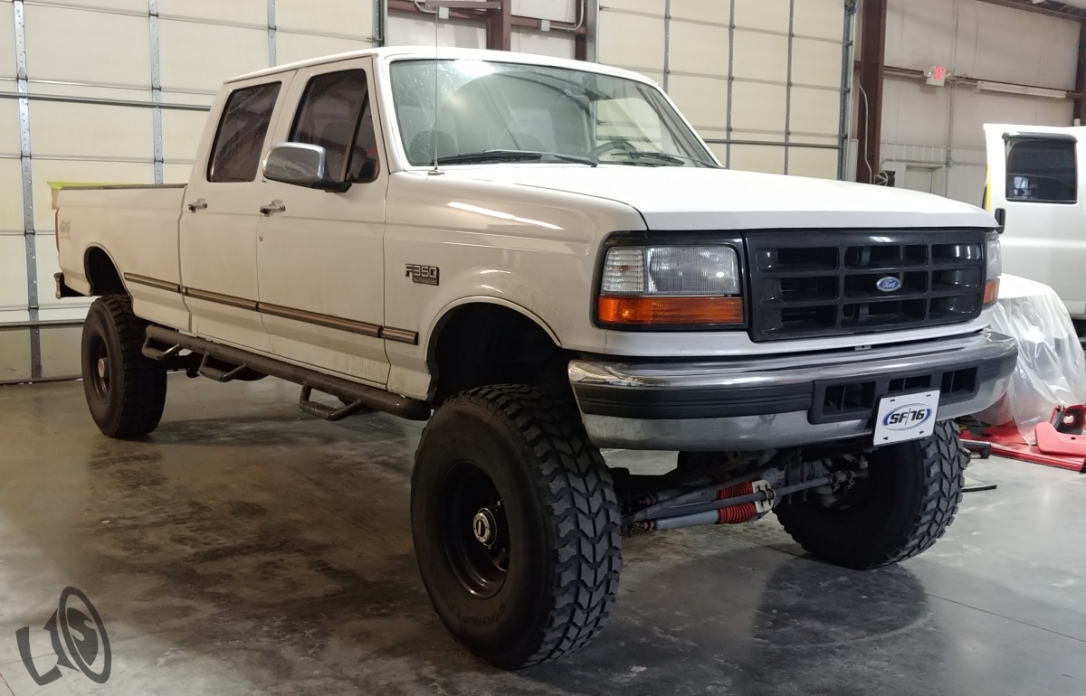
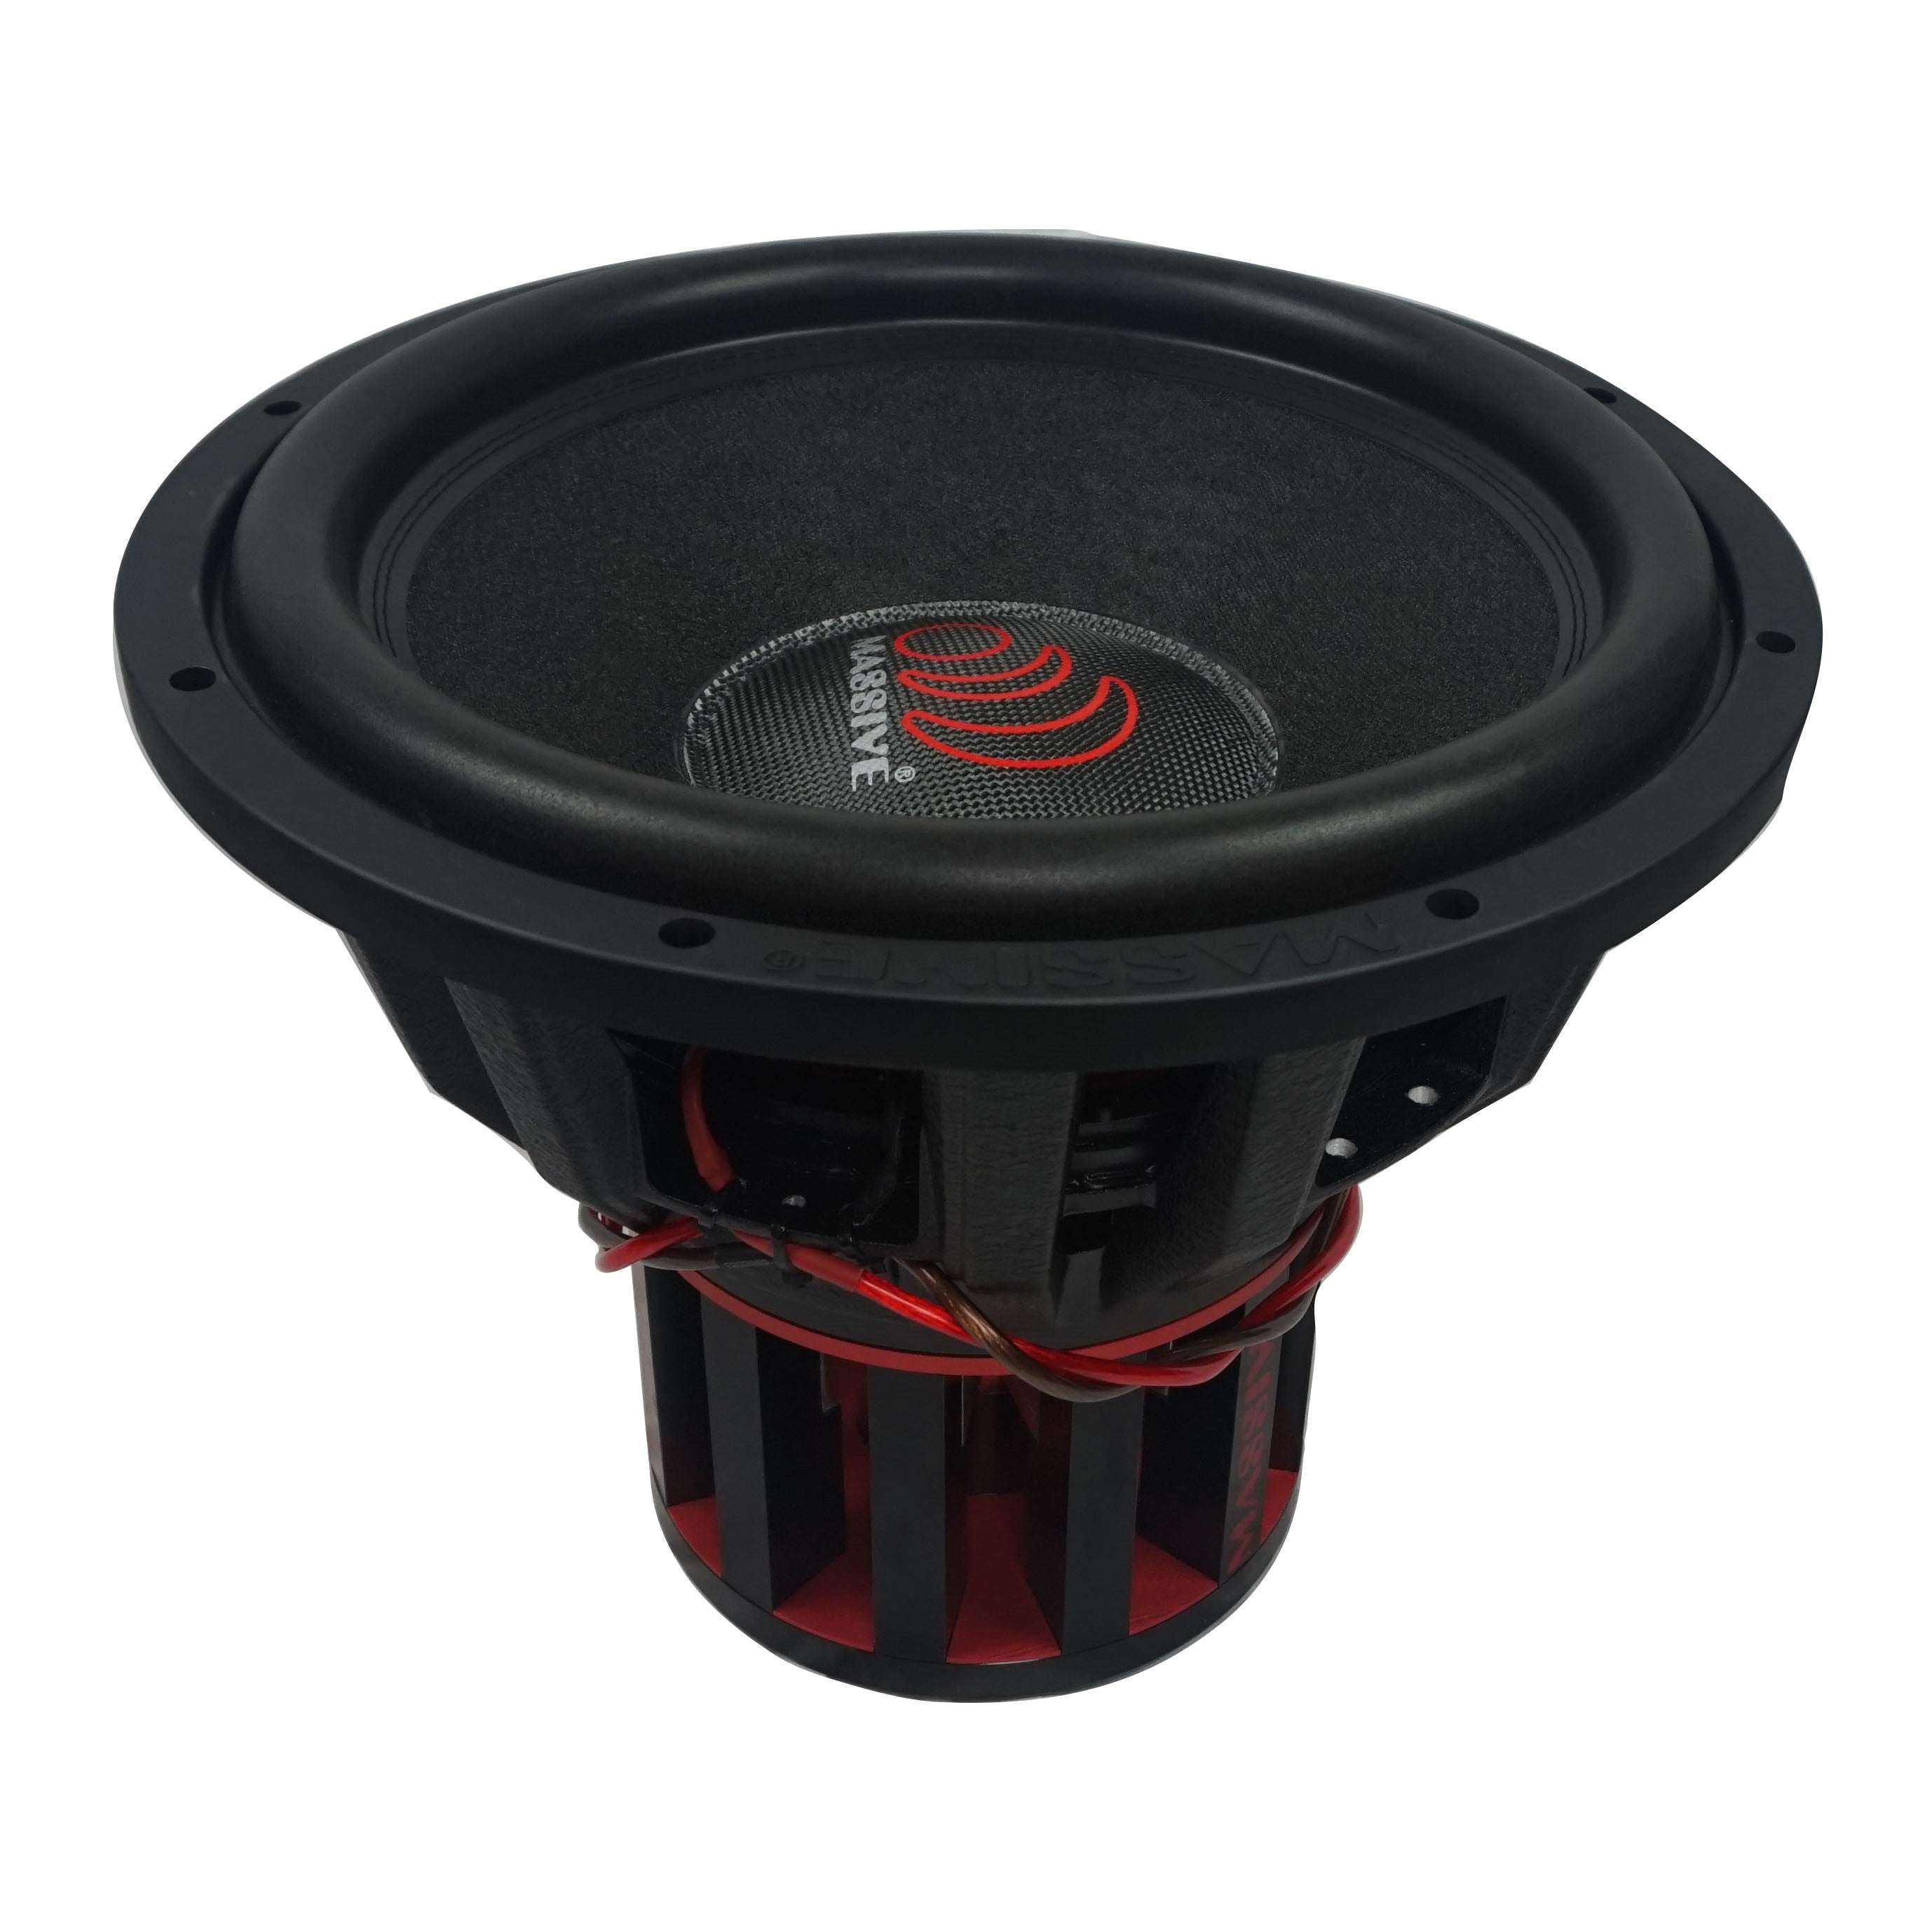
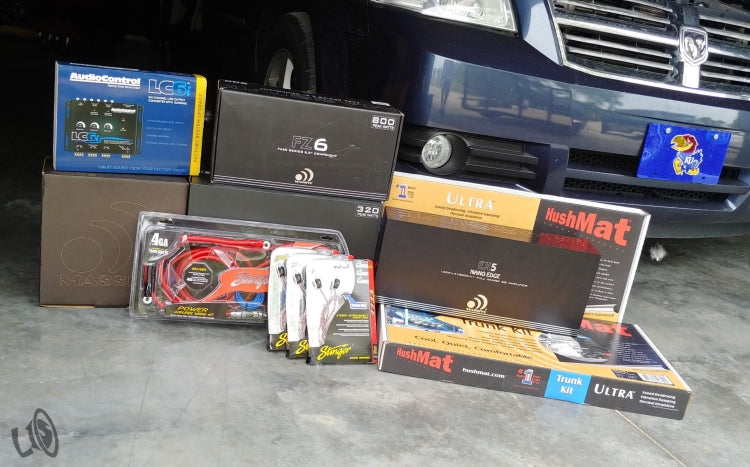
Recently, we had a client stop in our shop to inquire on doing a full audio system in his truck. Our client approached us wanting to do a Demo installation for a dealer show that he had coming up inside of a month. The product slated to go in the F350 was from Massive Audio. We set out to incorporate the Edge Series Amps, Toro X Series Woofers, and FX Series coaxials.
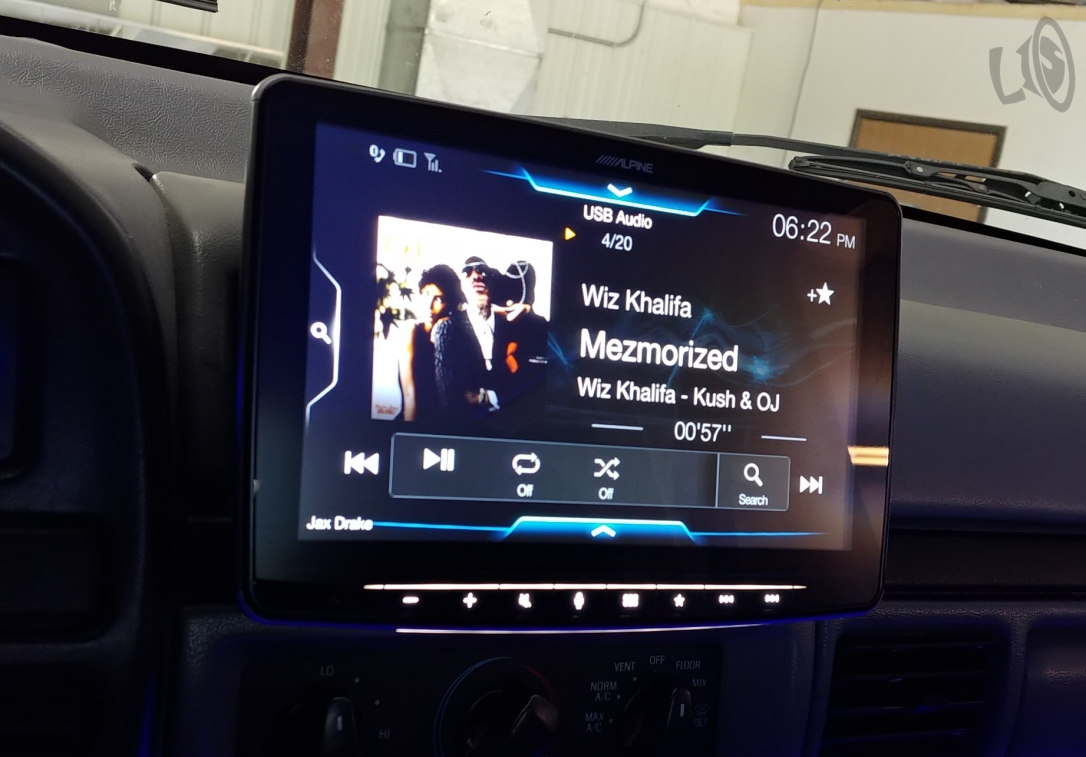
During our check in process we discovered that the F350 already had some previously installed audio equipment. We found that the truck had a 5 channel amplifier mounted under the rear passenger seats. Behind that rear seat we found a super shallow truck enclosure that housed a pair of very shallow woofers. As we began to remove interior panels we also came across aftermarket coaxial speakers in the factory locations. As for all that equipment it was removed with a quickness, however we did leave one component. The Alpine Halo9 Digital Media Receiver.
Electrical
The F350 electrical had been pretty much the same since it was built by Ford in 1996 except for the aftermarket battery that had been installed under the hood. Sadly, that battery had ran its course well by the time it had arrived to us. It was a no brainer that upgrades needed to be made especially since this truck would be used for demo purposes.
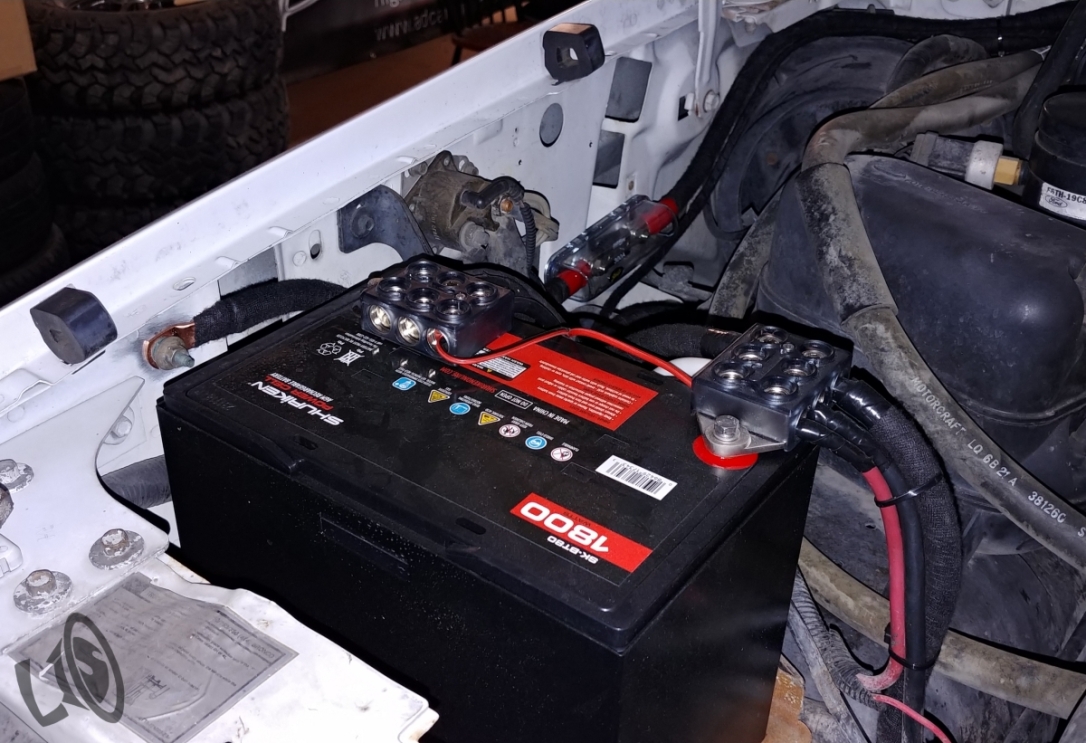
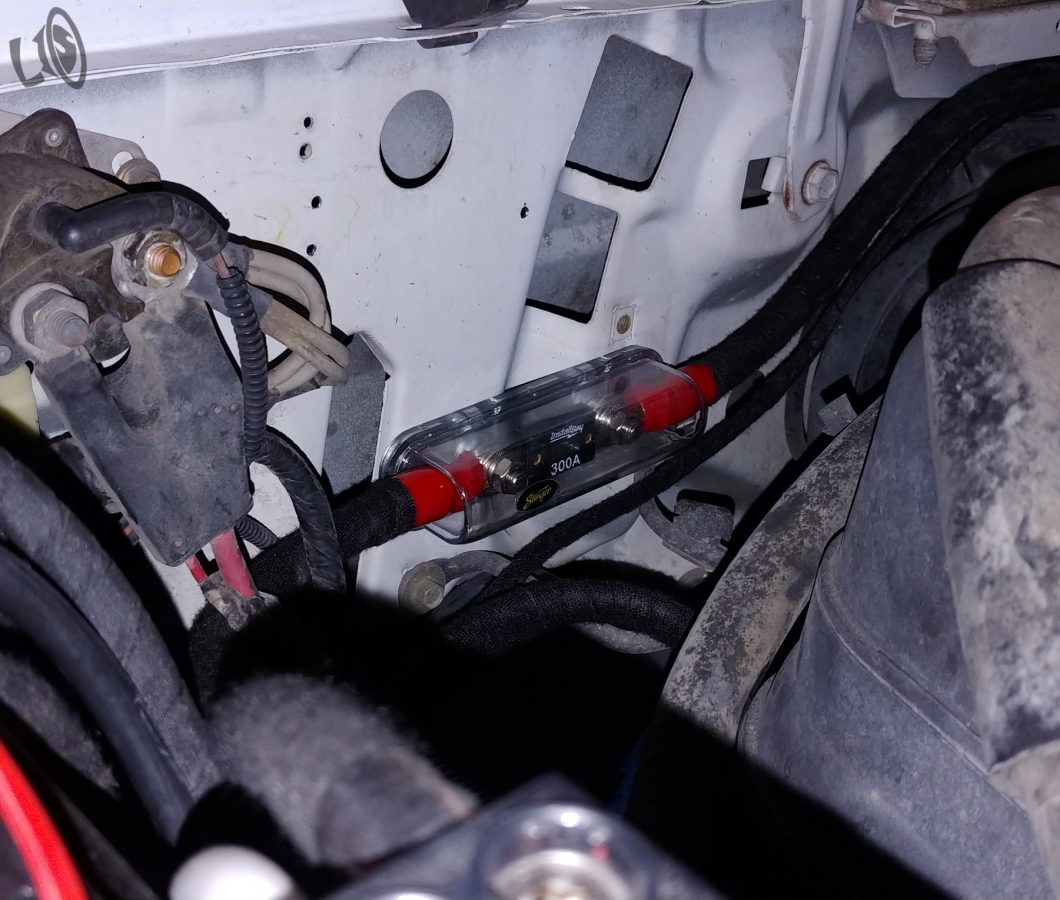
We removed the tired, old battery and installed a new Shuriken SkBT-80 in its place. We also incorporated the Shuriken Buss Block on both positive and negative terminals of the battery. While installing the new battery we also installed a charge pigtail that could reach the ground to link up with an external charging system. Back inside of the engine bay we needed to address the wiring comprised of the Big 3. We opted to use T-spec V10 zero gauge wiring to beef up the positive and negative connections of the Big 3 to allow optimum current flow.
New battery + Mounting Sleeve
Main Fuse
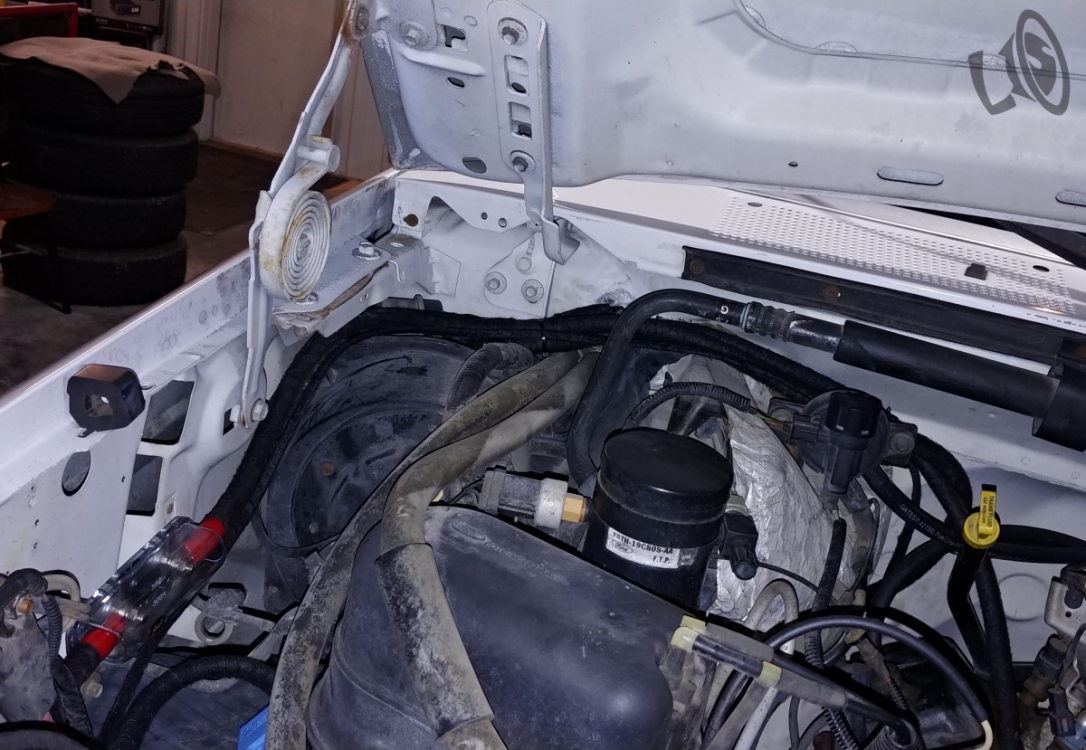
Wire Routing
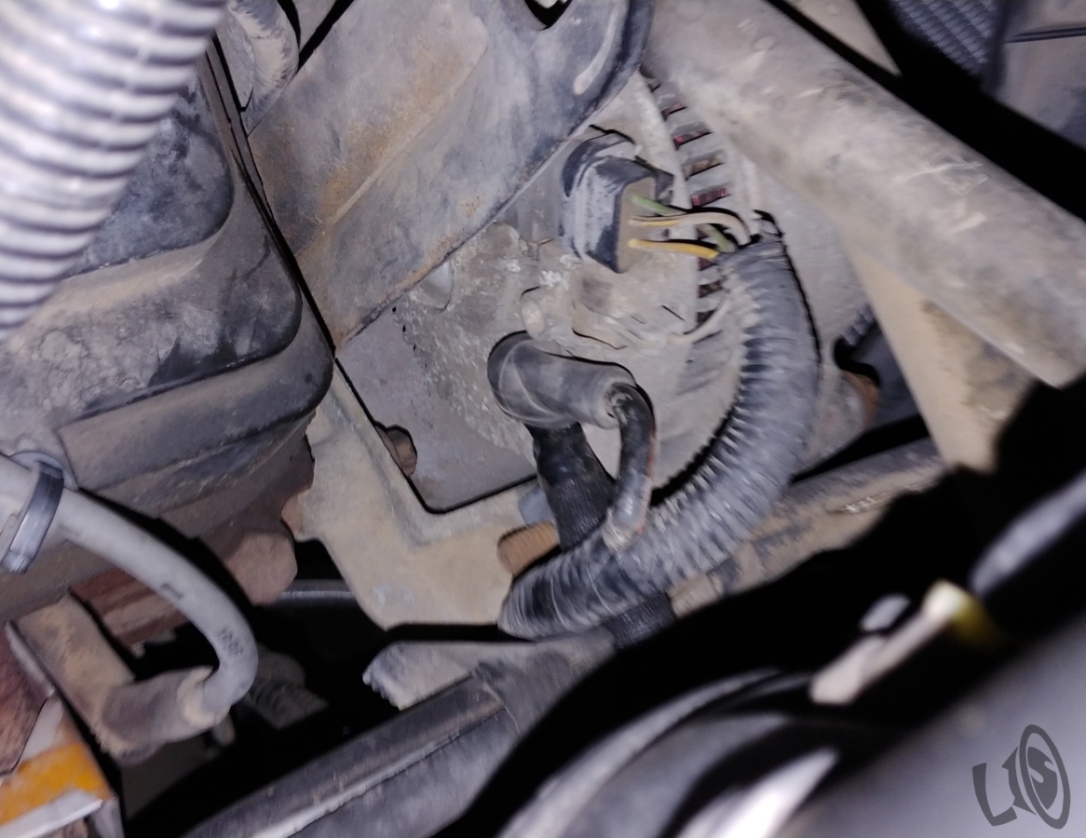
Positive Connection
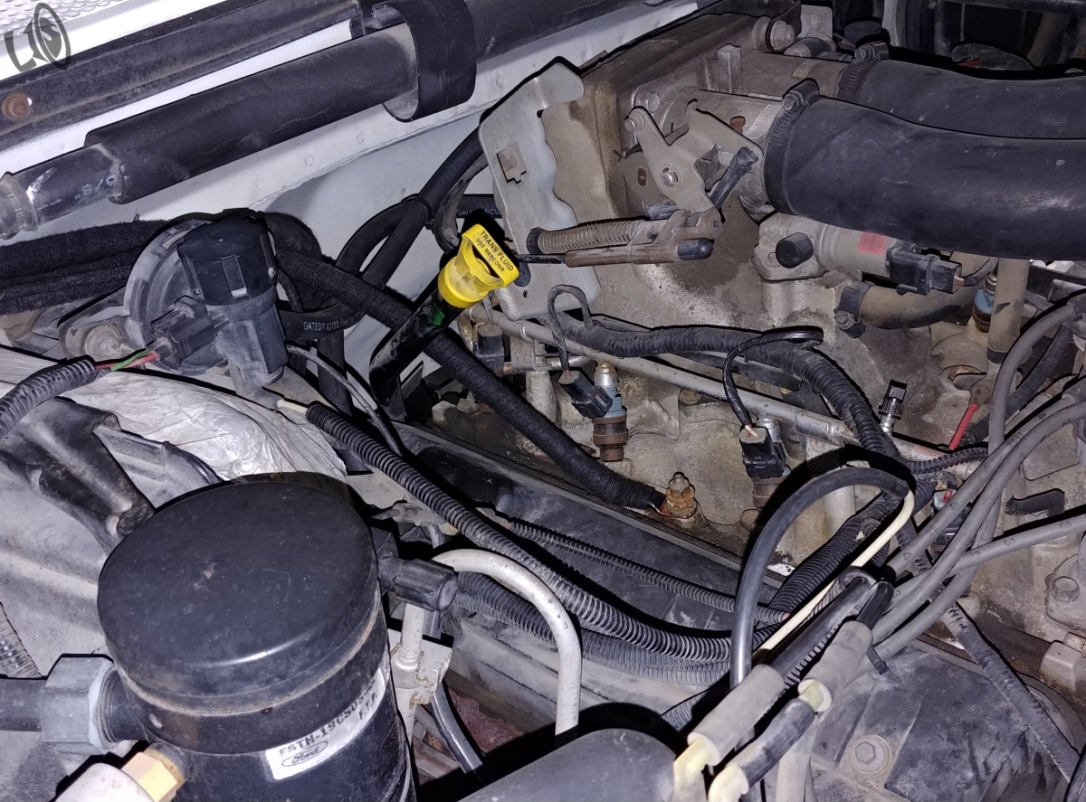
Negative Connection
Sound Deadening
Once we had finished our tear down process of the F350 and addressed our factory electrical shortcomings, it was now time to plot the new system. One thing that stood out to us the most about this truck was that for having an aftermarket audio system already installed, the truck did not have a lick of sound deadening material installed anywhere. So our first move was to cover the locations that were largely flat sheets of metal. We applied Hushmat Ultra Sound Deadening material to the front doors, rear doors, and rear wall (behind rear seat).
On the front doors we covered as much surface area as we could reach. Our idea here was to create an enclosure like environment for the new coaxial speaker that was slated for installation. This new environment would allow for optimum performance out of the new equipment.
The rear doors and rear wall of the vehicle did not have speaker locations outfitted in them. So our objective here was not to create and enclosure like environment, instead we would focus on covering the surface area to eliminate panel resonance from driving and the power of the new system.
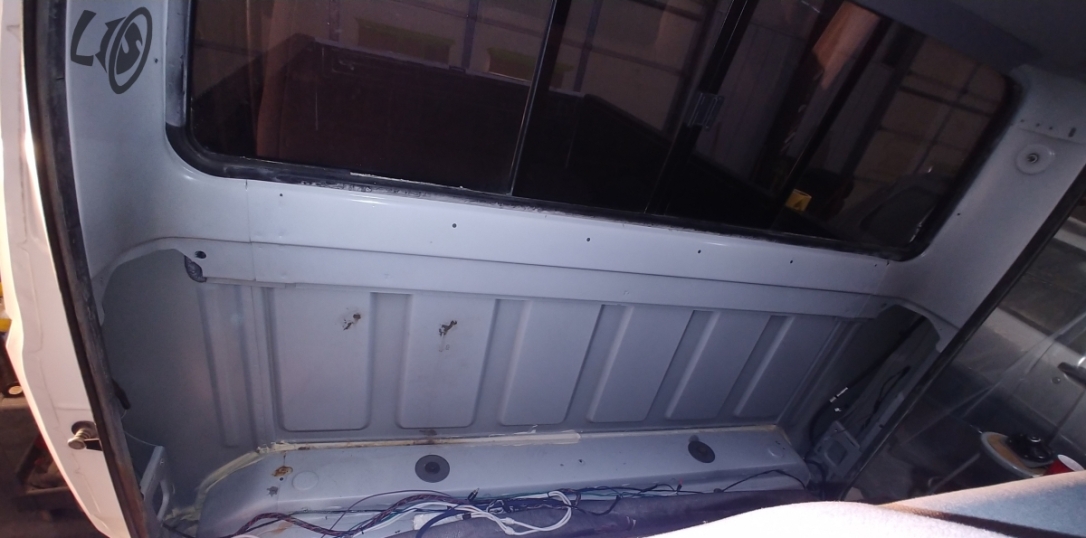
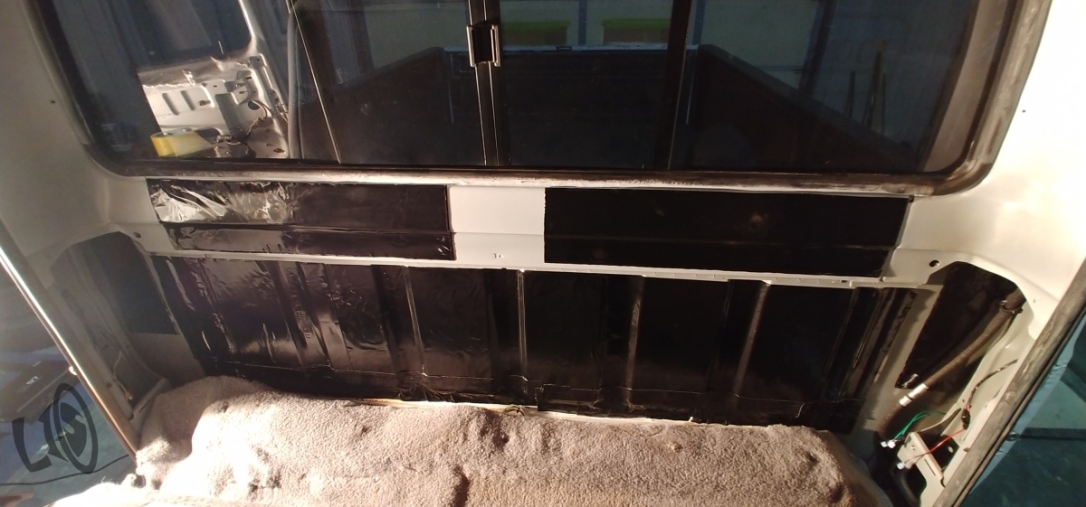
Hushmat Rear Wall
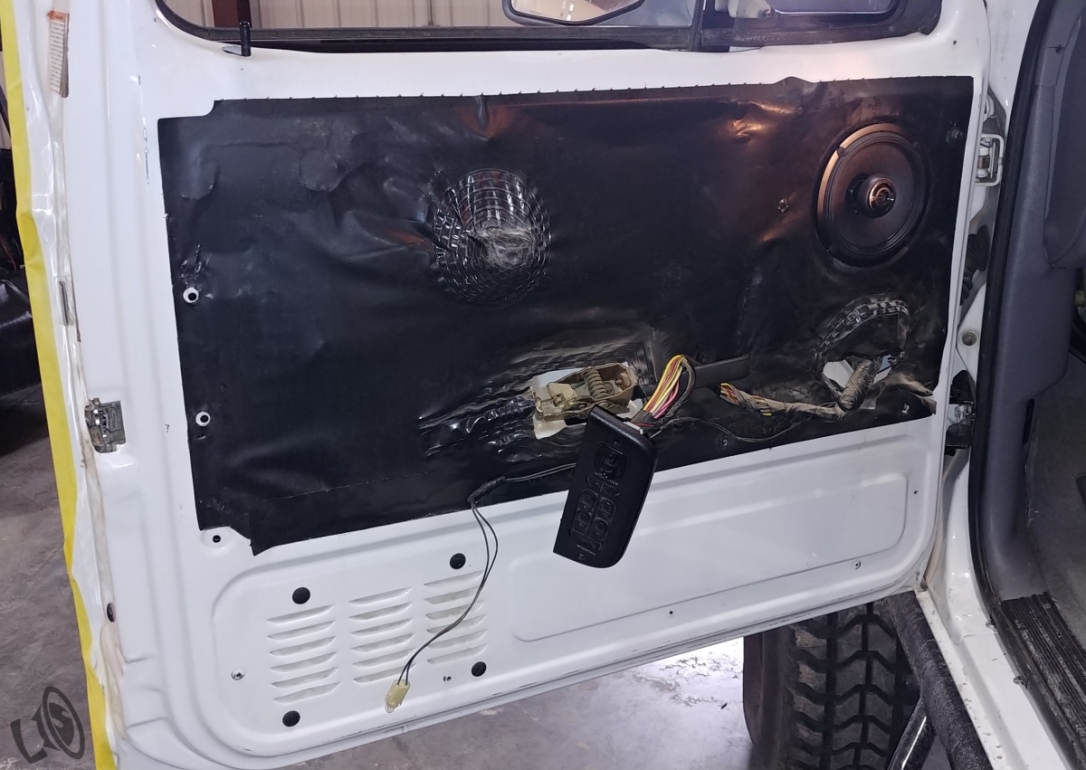
Factory Front Door

Hushmat Front door

Factory Rear Door
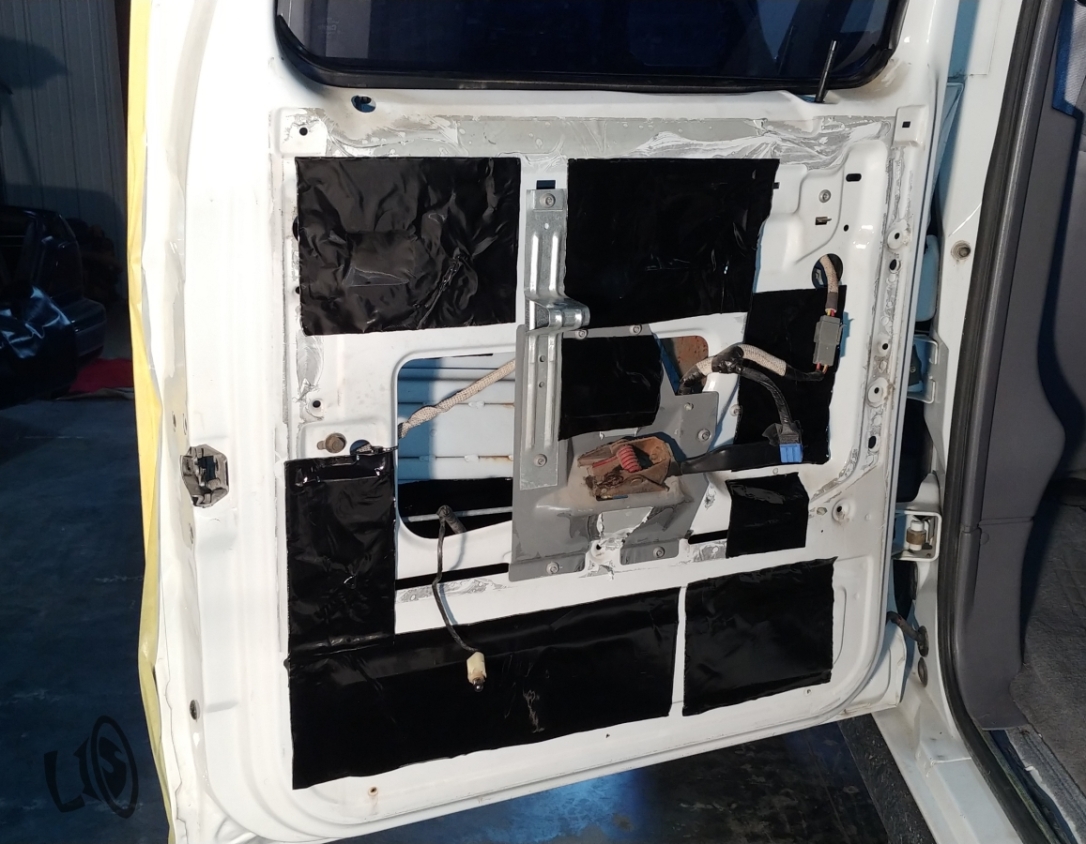
Hushmat Rear Door
Speakers
In the front speaker location we installed the Massive Audio FX series coaxials. We went with the factory location size that it was designed to fit, a 6.5 inch speaker. We made sure to completely cover the mounting area for the coaxial to insure a secure seal around the mounting plate of the speaker. Before mounting the speaker to the door we took one more step to ensure the best audio quality possible by installing the Stinger Roadkill Foam Ring kit. Outback, we fitted the factory location with a set of Massive Audio FX 5x7inch coaxial speakers. Along with these 5x7s we again incorporated the Roadkill Sound Foam Ring kit.
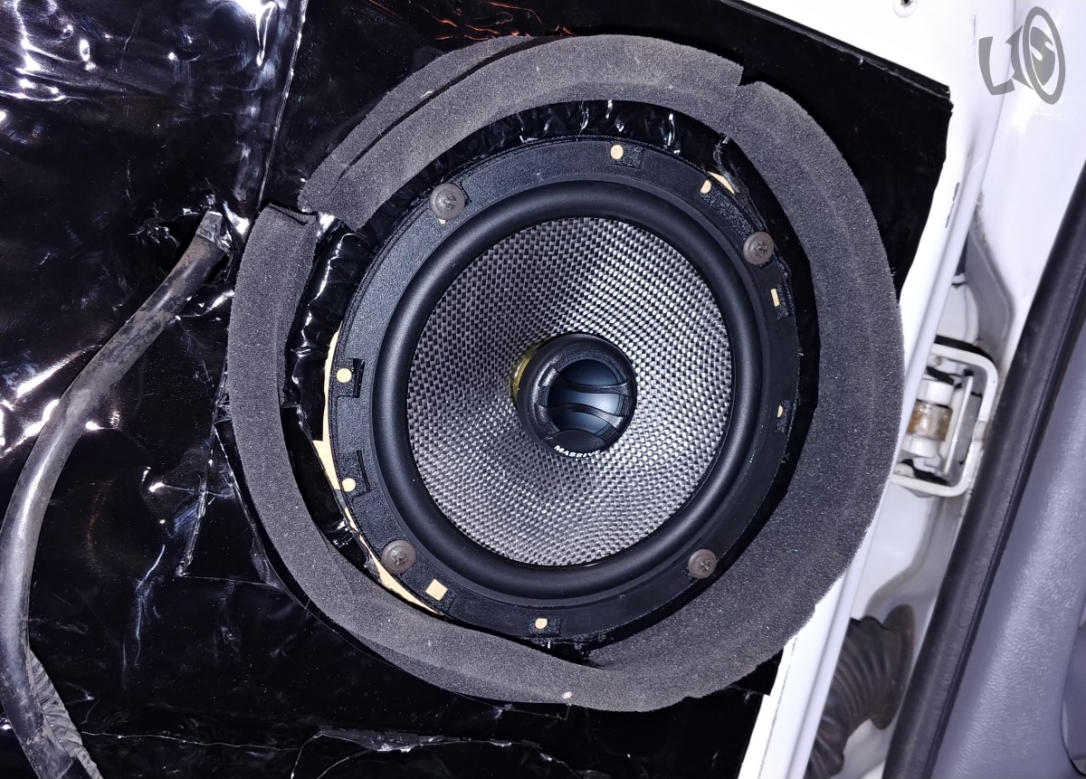

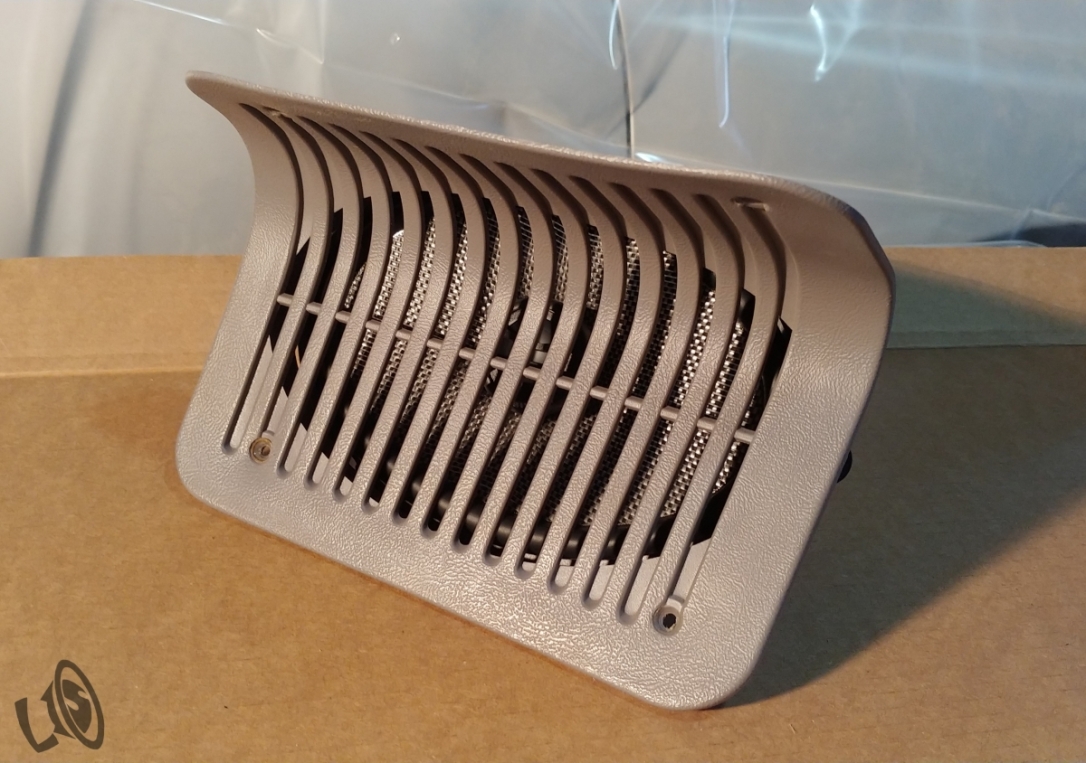
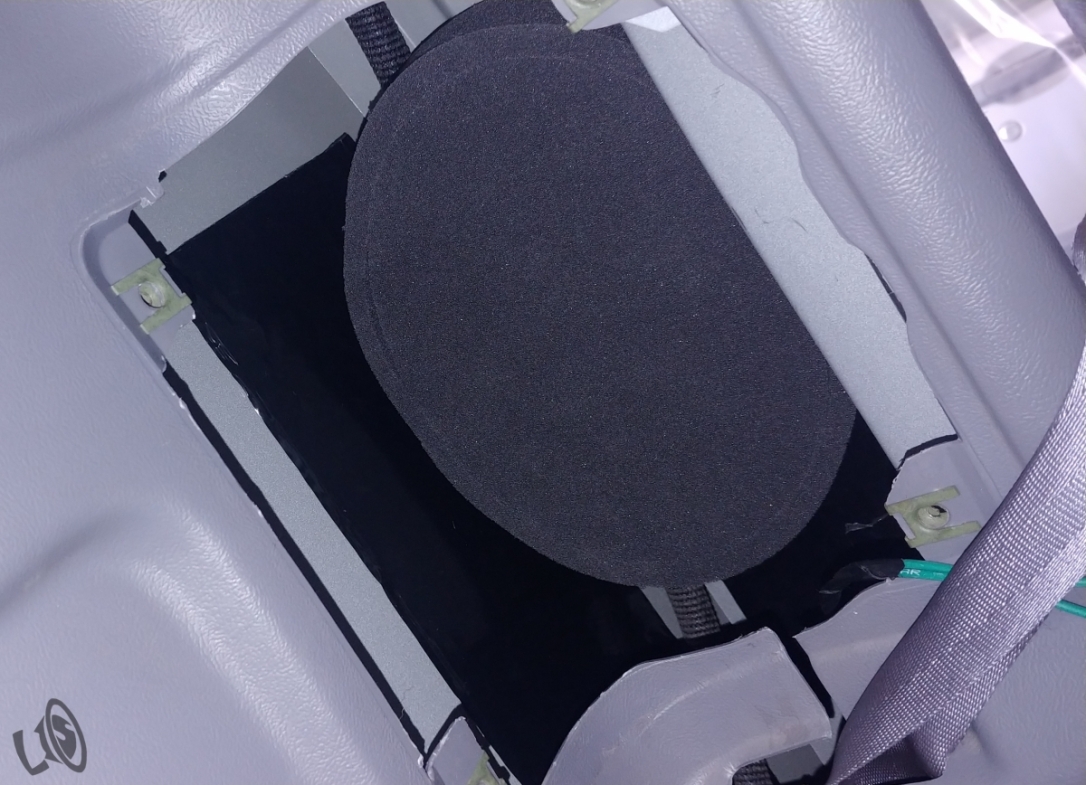
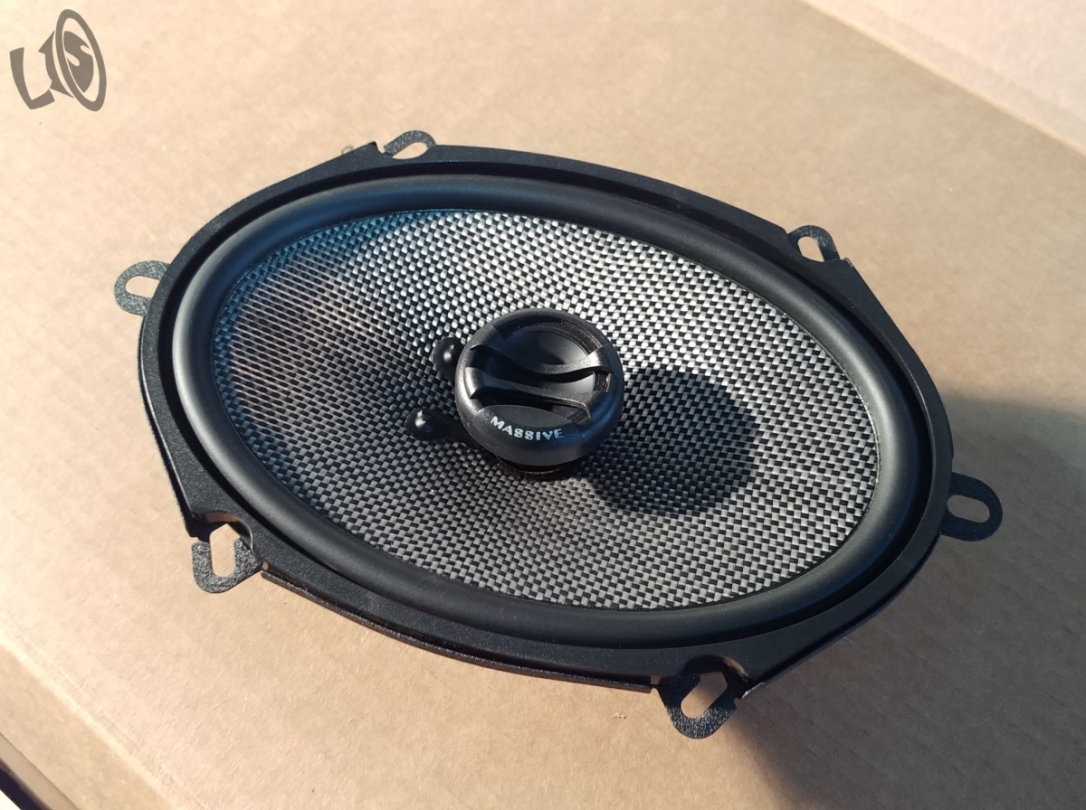
Massive Audio FX 5×7
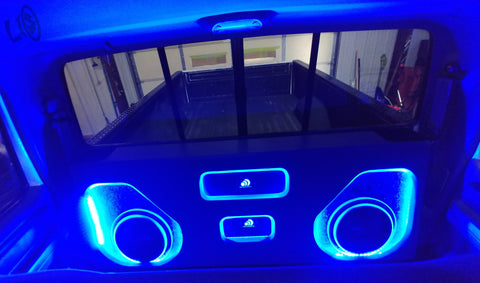
What started out as a haggered piece of cardboard template turned into a hefty monster that houses a pair of Massive Audio’s Toro X 10 D4 subwoofers, Massive Audio Ex44 four channel amplifier, and a Massive Audio E4 mono block amplifier. The enclosure and amp rack is a one piece structure that spans from hip to hip of the F350’s cab. The woofers are in separate be identical chambers that net 1.2 cubes and tuned to a healthy 32hz. Between the woofers we mounted the amplifiers in a slanted orientation set. The E4 received the top mounting location and the EX44 took the lower location.
Addressing the upholstery of the enclosure we used black carpeting for the exterior coverage. After finishing the enclosure wrapping, we added blue LED’s highlighting the amplifiers and woofer locations. We fabricated a dress facia to lay over the top of the woofer enclosure that we finished in a nice grey vinyl.
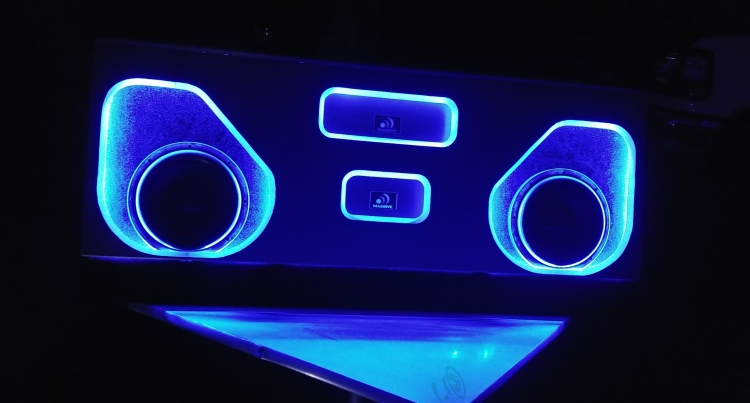
Full Illumination
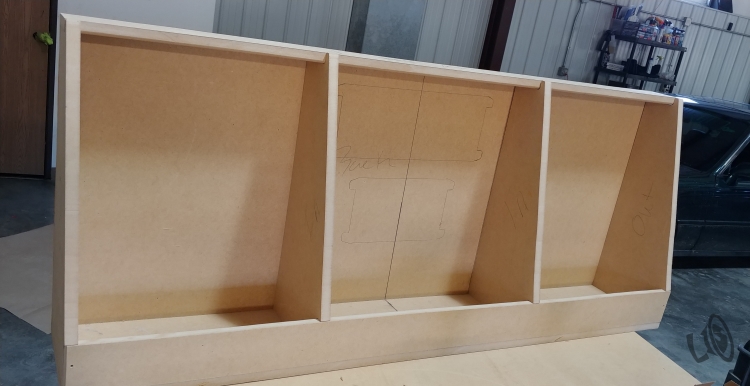
Enclosure + Rack Mock Up
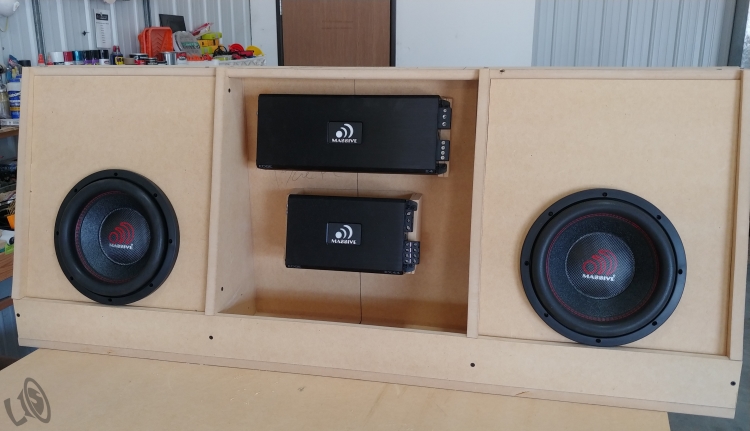
Amps+ Woofers Loaded
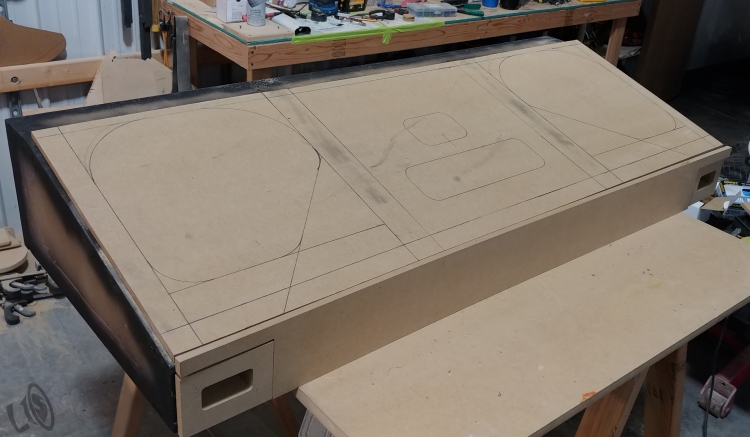
Facia Design
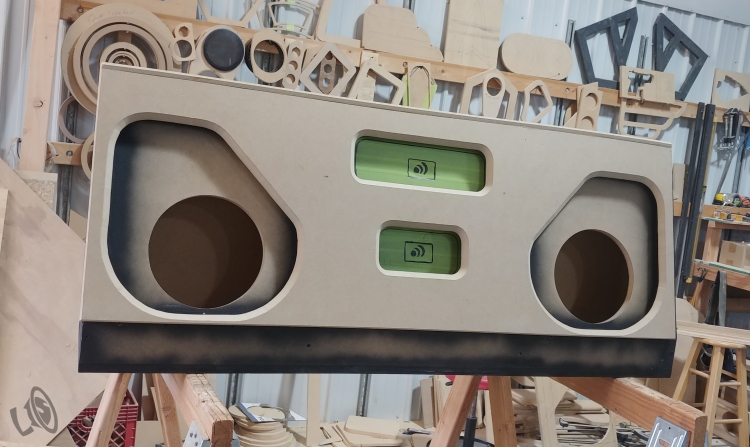
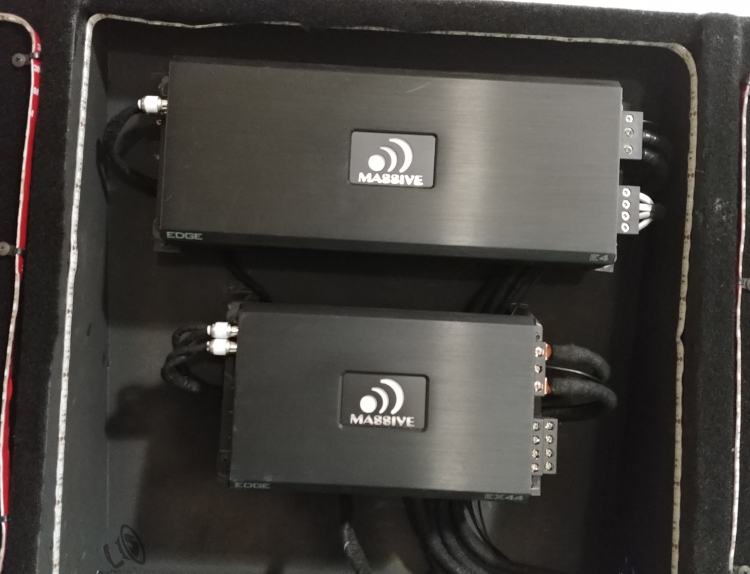
Amps Location
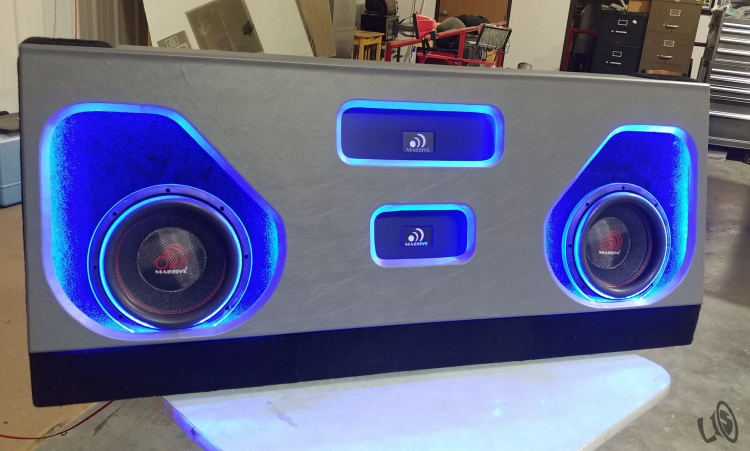
Finished Product
We continued the Blue theme of the woofer enclosure into the F350’s driver and passenger footwell areas as well as under the rear bench seat to give the interior that full illumination feel.
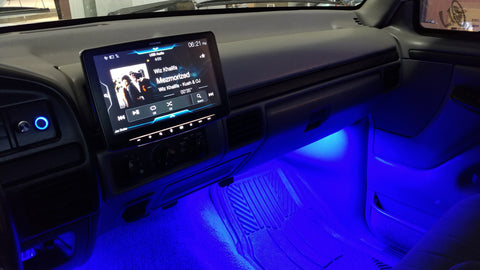
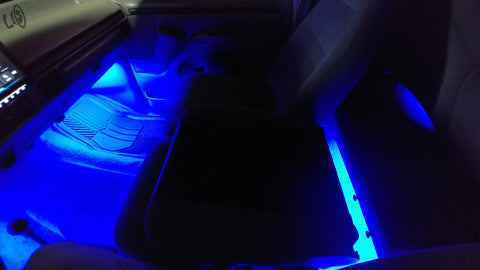


Leave a comment
All comments are moderated before being published.
This site is protected by hCaptcha and the hCaptcha Privacy Policy and Terms of Service apply.